Method 4
Firmware Upgrade
Upgrading the firmware in the Method 4 DAC is a simple 5 step process.
Step 1: Download the latest version firmware (M4-D2-1-0-14.zip) here using this link.
Step 2: Unzip the downloaded file and copy the firmware file (M4-D2.bin) on a SD card. Make sure it is not in a subfolder but directly in the main area of the SD card.
Step 3: Insert the SD card in the SD slot on the front of the DAC, see image below:
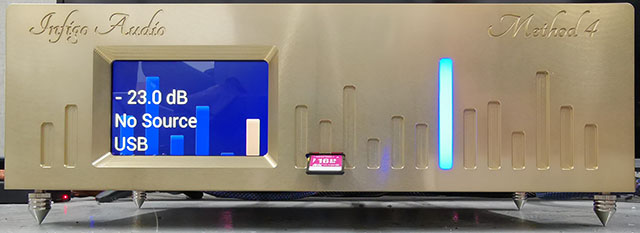
Make sure the SD card is inserted all the way in, you will feel a small click when the card is locked in place.
Step 4: Use the power switch on the back of the DAC next to the power cord to switch the DAC off and on.
You should see a screen that shows the current version of firmware and the new version found on the SD card:
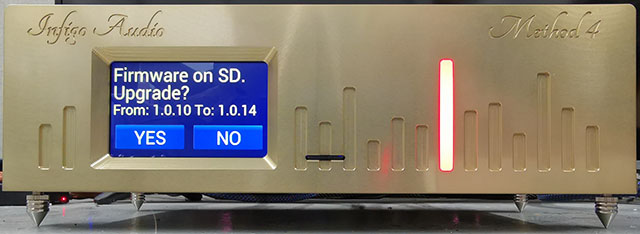
Step 5: Press YES to start the firmware upgrade. Press NO to cancel.
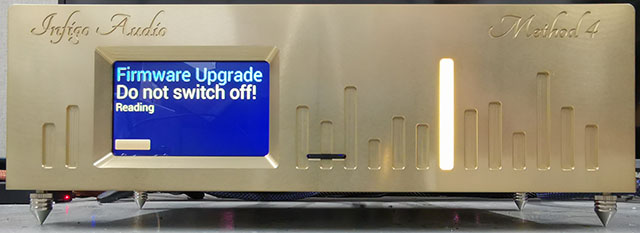
When the upgrading starts, the DAC shows a progress bar in the bottom of the screen.
Note: DO NOT SWITCH OFF the DAC while upgrading firmware.
When the upgrade process has completed, the DAC shows a success message:
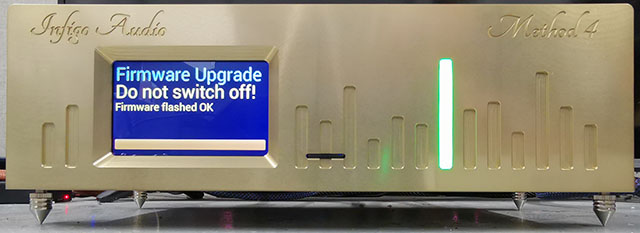
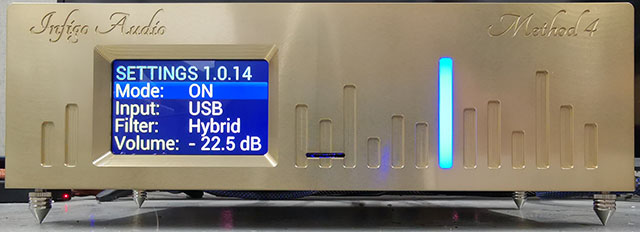
After several seconds the DAC will restart the new firmware. You can check the version running at any moment by pressing the MENU button on the remote. The top line of the setup screen shows the current version number. Press the MENU button again to exit the setup screen.